Two-factor authentication guide
We take your safety and security very seriously. A lot of work goes in behind the scenes to help keep you and your personal brand safe. This feature allows you to add an extra layer of security: two-factor authentication using Google Authenticator.
Make sure to download the Google Authenticator app (available for both iOS and Android devices)—the app is necessary to set up two-factor authentication.
Please read through the instructions below before activating two-factor authentication; if you skip step 3 you’ll lock yourself out of your account. If you get locked out of your account you can contact creatorhelp@spri.ng for assistance.
1. Download the Google Authenticator app
Download the Google Authenticator app onto your mobile device from either Google Play (Android) or The App Store (iOS).
2. Update your Spring account settings
Log into your Spring account and go to the “Settings” section of your dashboard (using the same device or a computer). Scroll down to the bottom of your settings to the section called “Two-Factor Settings”. Check the box that says “Use two-factor authentication” and update your settings by clicking the button bellow the check box.
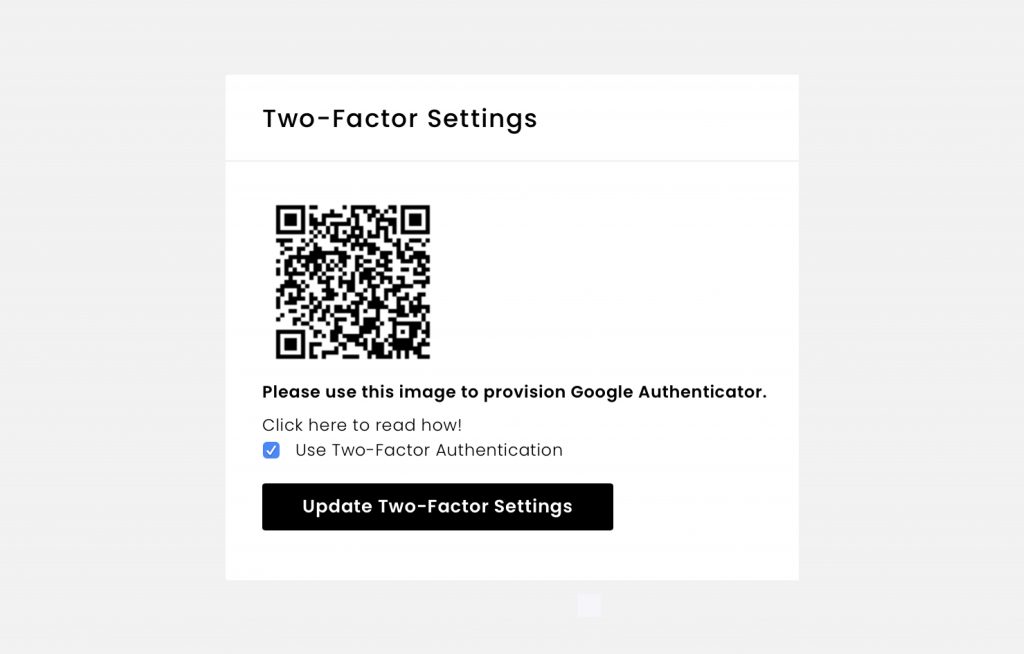
3. Scan the QR code provided
Next, use your mobile device to scan the QR code through the Google Authenticator app.
- If this is the first time you’ve used Google Authenticator, select “Begin set-up”.
- If you are adding a new account, choose “Set up an account” from the app’s menu.
- Select “Scan a bar code” and scan the bar code shown on the settings section of your Spring dashboard.
- After scanning, you will see an access token appear within the app. (this should be a series of numbers)
Note: if the Authenticator app cannot locate a barcode scanner app on your mobile device, you might be prompted to download and install one. If you want to install a barcode scanner app so you can complete the setup process, select install, then go through the installation process.
4. Add access token when you login to Spring
Now, logout of your Spring account and return to the login page. On the login page, select the option “Using 2 factor Authentication? Click here”. Enter your login details, as well as the access token generated in the Google Authenticator app.
Also note: You can use the same process on multiple devices if necessary (for example, if you use both a laptop and/or a desktop computer). Google Authenticator generates a new access token every 30 seconds—but you can use a different token on a different device as long as it’s associated with the same Spring account.
You may also want to consider downloading the Google Authenticator app on multiple devices—this way, you’ll still be able to get your account’s access token you lose your original device.